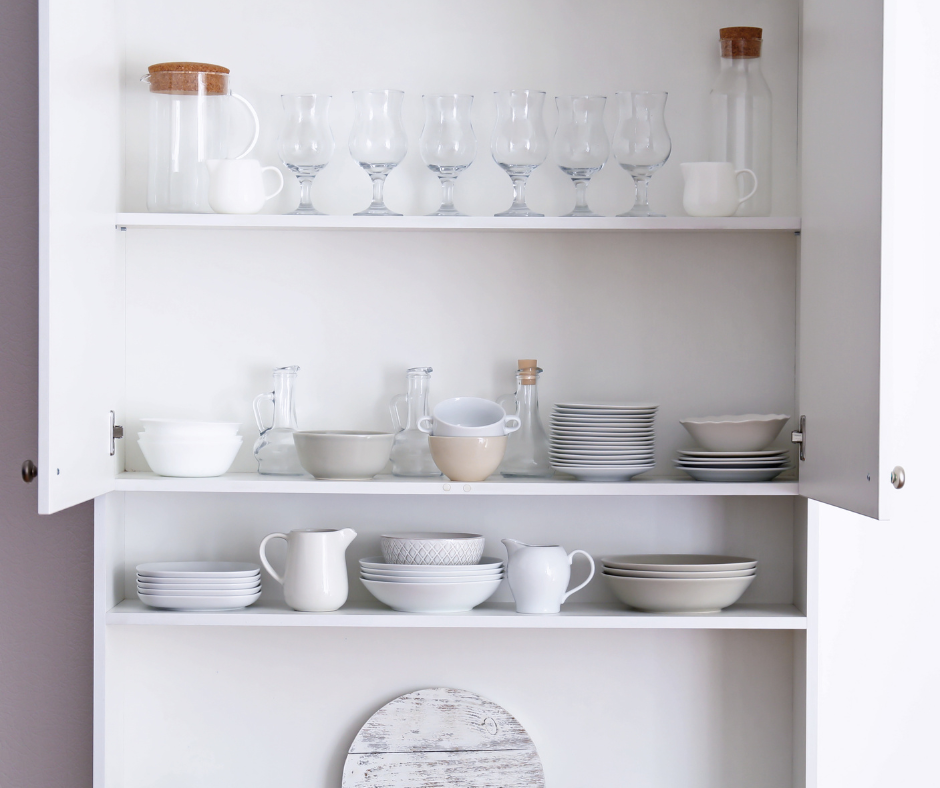
Are you tired of opening your kitchen cupboards only to be greeted by a chaotic mess? It's time to reclaim your culinary oasis and transform it into an organized haven. The best part? You can achieve this in just 30 minutes! In this blog post, we'll guide you through a step-by-step process to declutter one kitchen cupboard efficiently and effectively. Get ready to experience the joy of a clutter-free kitchen and make cooking a breeze!

Step 1: Set the Stage Before diving into decluttering, gather the necessary supplies. Grab some empty boxes or bins to sort items into categories, a trash bag for items beyond salvaging, and a cleaning cloth or spray to wipe down surfaces. Clear off a nearby counter or table to serve as your workspace for sorting and organizing.
Step 2: Empty the Cupboard Start by completely emptying the cupboard. Remove everything, one item at a time, and place them on your designated workspace. This step allows you to assess each item and make deliberate decisions about what stays and what goes.
Step 3: Assess and Sort
As you examine each item, ask yourself the following questions:
Do I use this regularly?
Is it in good condition?
Does it serve a specific purpose or bring me joy?
Can I live without it?
Sort items into three categories: Keep, Donate/Sell, and Discard. Be ruthless and let go of items that are broken, expired, or no longer align with your needs or preferences.

Step 4: Clean and Organize With the cupboard empty, take a moment to wipe down the surfaces. Remove any crumbs or spills, and give it a fresh start. Consider using shelf liners for an extra touch of cleanliness and to protect the shelves from future messes. Next, plan how you'll organize the items you've decided to keep. Use stackable containers or bins to maximize vertical space and create order. Group similar items together, such as baking supplies, canned goods, or spices. Utilize dividers or shelf organizers to separate different categories and prevent items from shifting.
Step 5: Return Items and Evaluate Space Carefully place the items you're keeping back into the cupboard, keeping in mind accessibility and frequency of use. Put the most frequently used items at eye level or within easy reach, while reserving higher or lower shelves for lesser-used items. Take a step back and evaluate the space. Does everything fit comfortably? Are there any items that could be relocated to better suit your needs? Adjust as necessary to optimize functionality and create a visually appealing arrangement.
Step 6: Dispose of Discarded Items Properly dispose of the items in the discard category. Recycle any recyclable materials, dispose of expired food items, and discard broken or unusable items responsibly. Donate or sell items that are in good condition but no longer serve you. Congratulations! In just 30 minutes, you've successfully decluttered and organized one kitchen cupboard, making it a streamlined and efficient space. By following these steps, you can replicate this process for other cupboards, drawers, and areas of your kitchen, transforming it into a functional and clutter-free environment. Remember, decluttering is an ongoing process. Regularly revisit your cupboards to ensure they remain organized and continue to serve your needs. Embrace the simplicity and joy that a decluttered kitchen brings, making meal preparation a breeze and allowing your culinary creativity to shine!
So, are you ready to tackle your kitchen cupboards and experience the satisfaction of a clutter-free space? Start the timer and let the decluttering journey begin!
Comments